Alerion: Recreating the Demo: Special Features
Your Guide to Recreating Elements of the Alerion Template for Joomla
Headline, Subheading, and Headline Icon
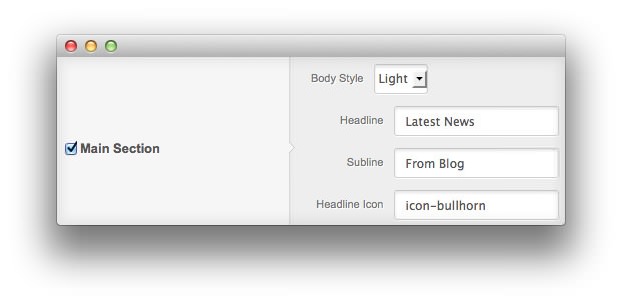
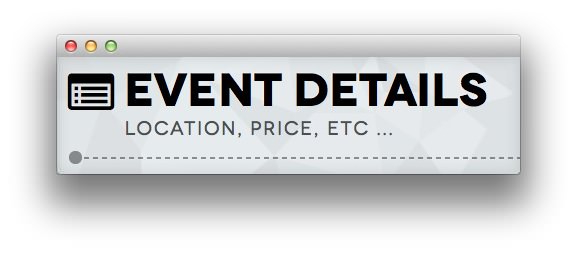 Setting the text you wish to appear as the headline and subheading for each section in a module is a fairly simple process. You only need to do the following steps.
- Navigate to Extensions → Template Manager in Administrator.
- Click on the Alerion template.
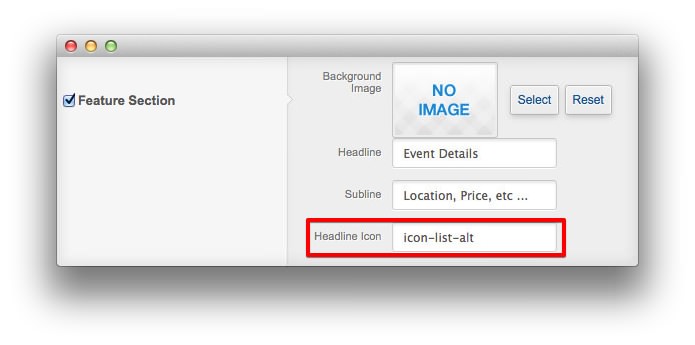
- Go to the Style tab and set the text for Showcase, Feature, Utility, and so on (pictured above).
- You can also set an icon style for the headline using FontAwewsome icon format, such as:
icon-list-alt(pictured below). This icon will also appear on the QuickNav.

QuickNav Menu
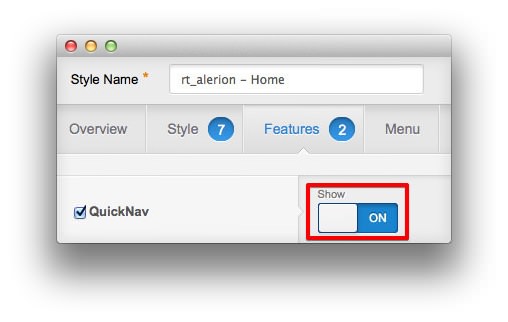
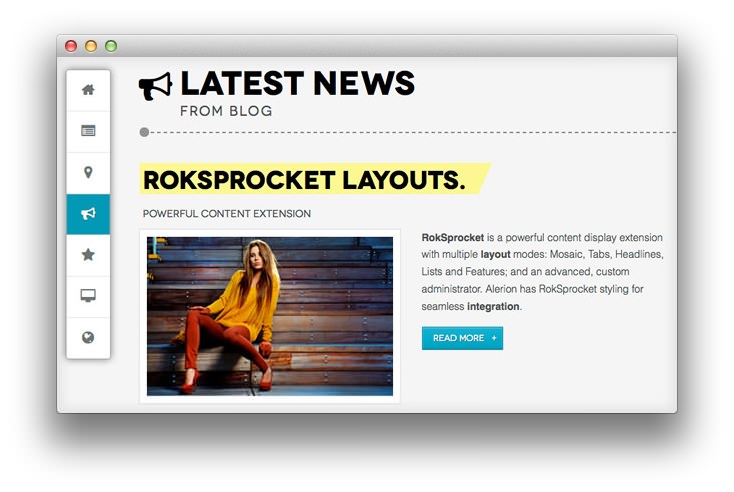 QuickNav adds a scrolling menu that follows your viewport as you scroll. Instructions for how to set this up to match the demo are detailed below.
- In your Joomla Administrator panel, navigate to Extensions → Template Manager, then click on the Alerion template.
- Go to the Features tab and enable QuickNav.
- The icon is taken from the Headline icon parameter on the Style tab with the FontAwesome icon format, such as:
icon-bullhorn.
Background Image and Parallax
 Parallax is apparent motion of a 3D object depending on your perspective. This effect has been transposed into the template, allowing configurable areas to move based on scroll position.
IMPORTANT NOTE: For demo purpose we load the background for Showcase, Feature, and Footer section in templates/rt_alerion/less/demo-styles.less as the following. If you wish to use your own image and use the image picker, please remove this part from your demo-styles.less (EDIT: demo-parallax-bg.less in later releases of the template).
// Parallax Background Images (Please remove the following if you wish to use your own images)
.contentstyle-preset1 {
    #rt-top-surround {
        background-image: url(../../../images/rocketlauncher/frontpage/showcase/showcase-bg-p1.jpg);
    }
    #rt-feature {
        background-image: url(../../../images/rocketlauncher/frontpage/feature/feature-bg-p1.png);
    }
    #rt-footer {
        background-image: url(../../../images/rocketlauncher/frontpage/footer/footer-bg-p1.jpg);
    }
}
.contentstyle-preset2 {
    #rt-top-surround {
        background-image: url(../../../images/rocketlauncher/frontpage/showcase/showcase-bg-p2.jpg);
    }
    #rt-feature {
        background-image: url(../../../images/rocketlauncher/frontpage/feature/feature-bg-p2.png);
    }
    #rt-footer {
        background-image: url(../../../images/rocketlauncher/frontpage/footer/footer-bg-p2.jpg);
    }
}
.contentstyle-preset3 {
    #rt-top-surround {
        background-image: url(../../../images/rocketlauncher/frontpage/showcase/showcase-bg-p3.jpg);
    }
    #rt-feature {
        background-image: url(../../../images/rocketlauncher/frontpage/feature/feature-bg-p3.png);
    }
    #rt-footer {
        background-image: url(../../../images/rocketlauncher/frontpage/footer/footer-bg-p3.jpg);
    }
}
.contentstyle-preset4 {
    #rt-top-surround {
        background-image: url(../../../images/rocketlauncher/frontpage/showcase/showcase-bg-p4.jpg);
    }
    #rt-feature {
        background-image: url(../../../images/rocketlauncher/frontpage/feature/feature-bg-p4.png);
    }
    #rt-footer {
        background-image: url(../../../images/rocketlauncher/frontpage/footer/footer-bg-p4.jpg);
    }
}
.contentstyle-preset5 {
    #rt-top-surround {
        background-image: url(../../../images/rocketlauncher/frontpage/showcase/showcase-bg-p5.jpg);
    }
    #rt-feature {
        background-image: url(../../../images/rocketlauncher/frontpage/feature/feature-bg-p5.png);
    }
    #rt-footer {
        background-image: url(../../../images/rocketlauncher/frontpage/footer/footer-bg-p5.jpg);
    }
}
.contentstyle-preset6 {
    #rt-top-surround {
        background-image: url(../../../images/rocketlauncher/frontpage/showcase/showcase-bg-p6.jpg);
    }
    #rt-feature {
        background-image: url(../../../images/rocketlauncher/frontpage/feature/feature-bg-p6.png);
    }
    #rt-footer {
        background-image: url(../../../images/rocketlauncher/frontpage/footer/footer-bg-p6.jpg);
    }
}
// End of Parallax Background Images
Instructions for setting these features up in Administrator are detailed below.
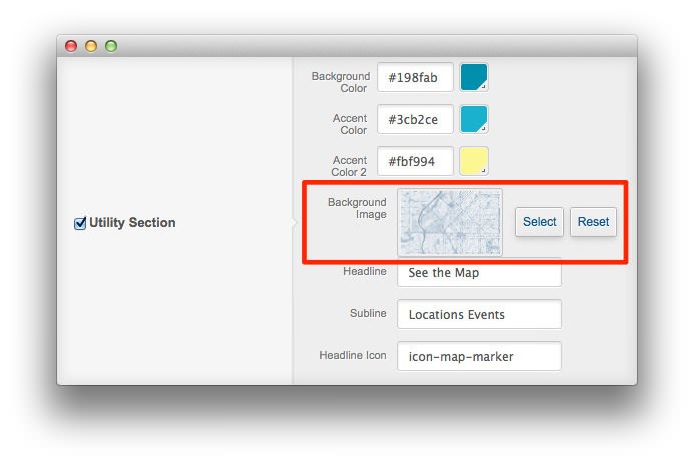
- In your Joomla administrator panel, navigate to Extensions → Template Manager, then click on Alerion template.
- Go to Style tab and you can see all parameter to configure the parallax background.
- Choose the background image (pictured above) by using the image picker you wish to use for the background of the section.
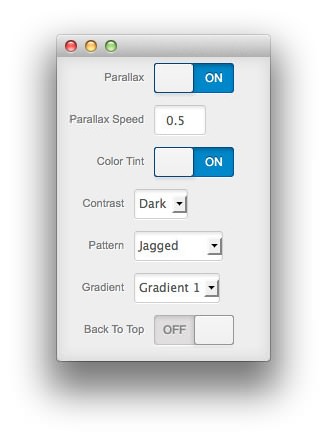
- Enable the parallax style effects for the background image. You can also enable or disable a color tinting overlay that matches your accent color and will appear on top of your selected background image. Additionally, you can set the contrast style for light or dark, the overlay gradient style, as well as the overlay pattern style for the background.
- Select the movement speed of the parallax effect (pictured below). The speed parameter is not really a speed. It is a delta value which is based on many different factors, such as how big the background image and how big the section is. You will need to play with the value until the scroll seems smooth.
Floating Module
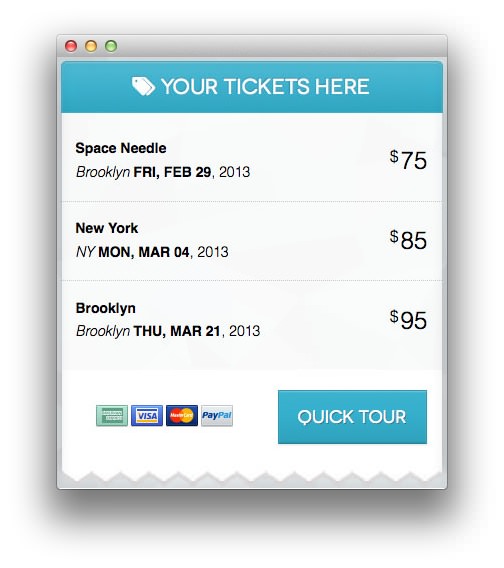 The Floating Module feature that allows you to 'bounce' a module between the template sections. It also allows a module position to follow the users viewport.
In your Joomla Administrator panel, navigate to Extensions → Template Manager and click on the Alerion template.
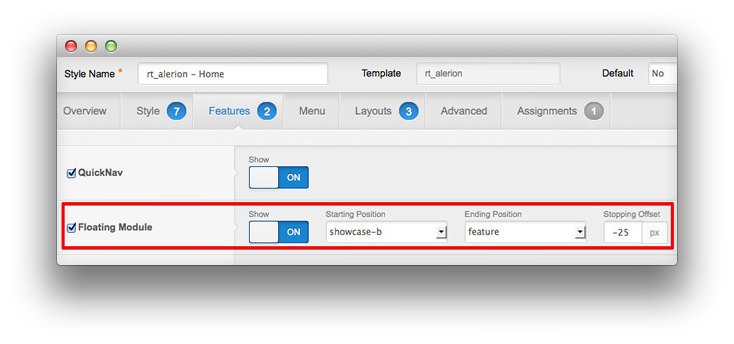
Go to the Features tab and check the parameter to configure the Floating Module.
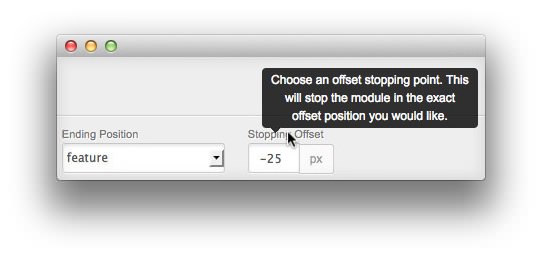
Set the starting position and the ending position for the module you wish to float, as well as the stopping offset point in the template manager. The stopping offset will stop the module in the exact offset position you would like.
After that, close the template manager and navigate to Extensions → Module Manager.
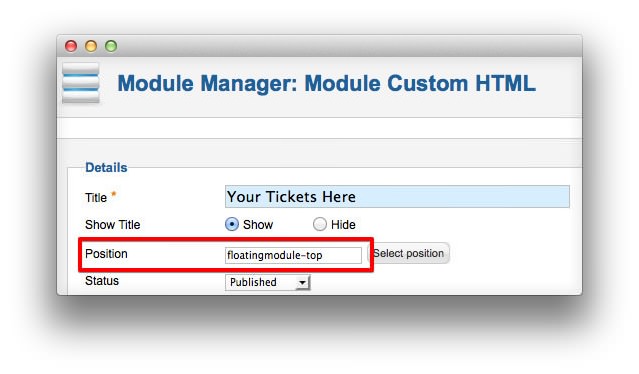
Next, create or edit the existing module you want to set as floating module. For the starting module which will be floating, set the Position parameter to floatingmodule-top.
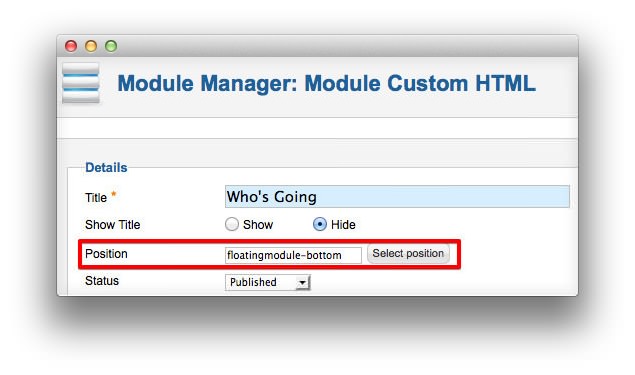
For the ending module, which is static and will meet the starting floating module configured above, set the Position parameter to floatingmodule-bottom.
Please keep in mind that the floating module positions are not general purpose positions that can be used like other positions. They have to be configured and set up perfectly for them to function, as well as the rest of the site/page has to be organized for their use.
