How to Edit the Logo on a RocketTheme Template
How to edit the logo on a RocketTheme template powered by Gantry.
Introduction
Editing the logo on a RocketTheme template is fairly simple. There are two primary methods of getting the job done.
First, you will have to decide whether you want to create a "default logo" that is easy to go back to after any temporary or seasonal logos, or a promotional "replacement logo".
The easiest method to use a "replacement logo" is to use the Logo Picker method. Alternatively, you can use the Manual Logo Change method to change your default logo, outright. We have outlined these two primary methods below.
The Logo Picker

The Logo Picker method essentially allows you to pick from any image in your Media Manager (or RokGallery) and use that in place of the logo in its associated position. The logo will continue to act the same way as it did when you first installed the RocketLauncher and/or standalone template, though its source image file will be directed to the image you have selected.
To accomplish this, you will want to follow these steps:
Navigate to Administrator → Extensions → Templates Manager and select the Gantry-powered RocketTheme template you are currently using as your default. If you wish to change your logo in only a select number of pages, you will need to either create or choose an existing template override to apply this change to.
Navigate to the Features tab.
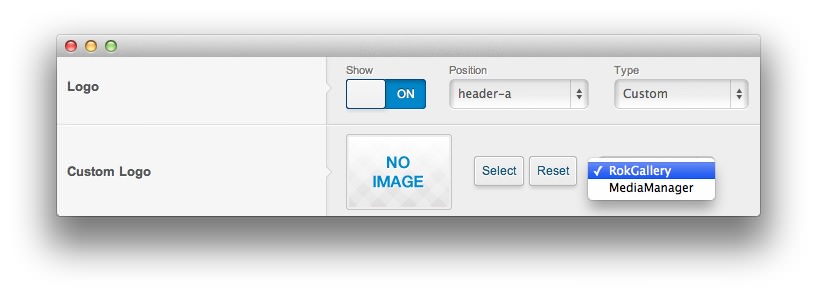
Set the Logo Type to Custom.
Select the source you would like to use for your custom logo. This can be either MediaManager or RokGallery, depending on what you have installed and are using to store the file.
Select your logo, click Insert, and Save.
Your logo should now be replaced by the image you have selected.
Note: Some templates have this option under the Style tab rather than Features.
Manual Logo Change

Let's say you want to set a primary logo that you can go back to at any given time without having to reselect it as a custom logo. This can be done fairly easily by replacing our logo image file with your own by doing a manual FTP upload to a specific directory.
Doing this makes it a little easier to revert back to the logo you wish to have after a seasonal or temporary change.
Here are the steps you will want to follow:
Navigate to Administrator → Extensions → Templates Manager and select the Gantry-powered RocketTheme template you are currently using as your default. If you wish to change your logo in only a select number of pages, you will need to either create or choose an existing template override to apply this change to.
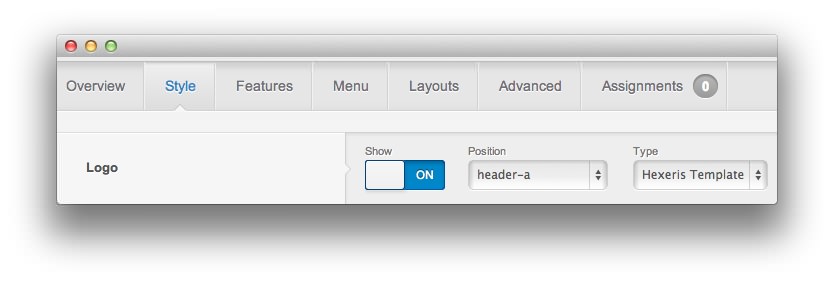
Navigate to the Style tab.
Make sure the Logo Type is set to the name of the template. For example: The Logo Type for Praxis is set to
Praxisby default.Take your custom logo and rename it to
logo.pngin your local file directory.Upload the
logo.pngfile to the/templates/(your RocketTheme template)/images/logo/directory and choose to override the existing file, if prompted. Some templates might have additional directories for presets, light, dark, and other additional variables accessible via the/logo/directory.Clear your browser cache and refresh your site's home page to test the change.
If you can not see your new logo, ensure you have uploaded it to the right directory and the directory permissions are writable.
Note: Some templates have this option under the Features tab rather than Style.