Interstellar: Recreating the Demo - Header Section
Your Guide to Recreating Elements of the Interstellar Demo for Joomla
Introduction
-
 1Custom HTML2Custom HTML
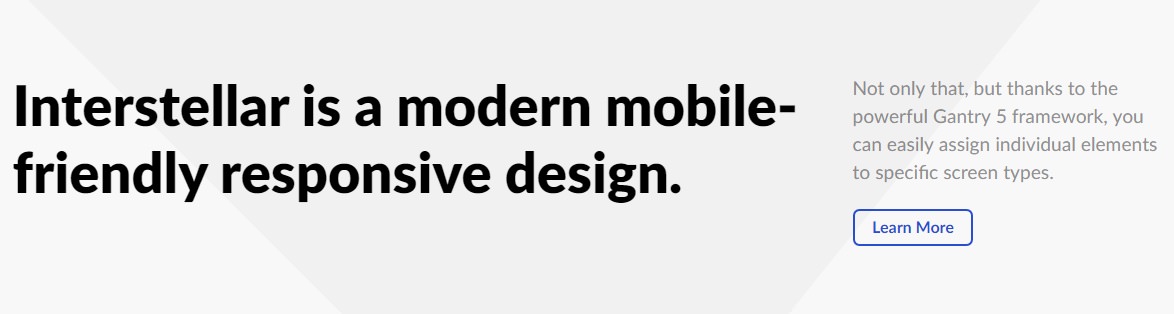
The Header section includes two particles assigned to the header-a and header-b module positions.

Here is a breakdown of the module(s) and particle(s) that appear in this section:
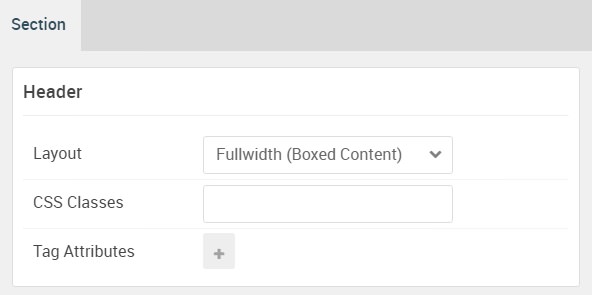
Section Settings
| Option | Setting |
|---|---|
| Layout | Fullwidth (Boxed Content) |
| CSS Classes | Blank |
| Tag Attributes | Blank |
Custom HTML (Particle)
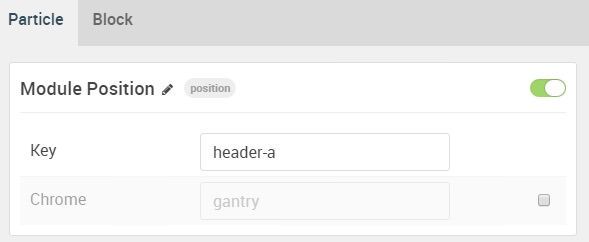
The Custom HTML particle is a Gantry 5 Particle module placed within the header-a module position. You can create a module position by dragging and dropping a Module Position particle into the desired location within the Layout Manager. The module position's settings are as follows.
Module Position Particle Settings
Particle Settings
| Option | Setting |
|---|---|
| Particle Name | FP Header A |
| Key | header-a |
| Chrome | gantry |
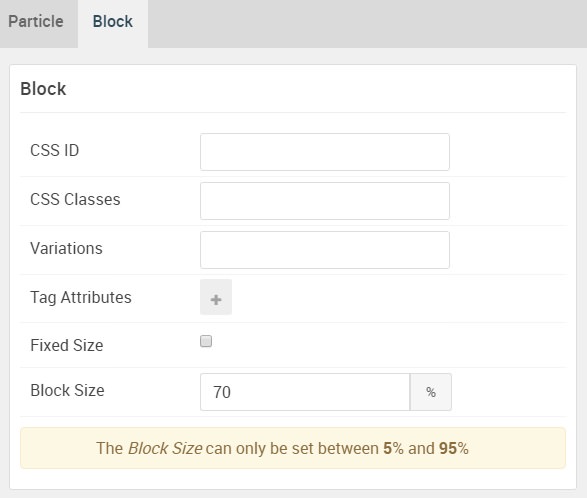
Block Settings
| Option | Setting |
|---|---|
| CSS ID | Blank |
| CSS Classes | Blank |
| Variations | Blank |
| Tag Attributes | Blank |
| Fixed Size | Unchecked |
| Block Size | 70% |
Custom HTML Particle Settings
The next step involves assigning the particle to the module position. Adding a particle to a module position can be done by creating a Gantry 5 Particle module by navigating to Admin > Extensions > Modules and clicking the green New button. Select the Gantry 5 Particle module type and create the particle using the settings found in the section below, and assigning it to the position.
Particle Settings
| Option | Setting |
|---|---|
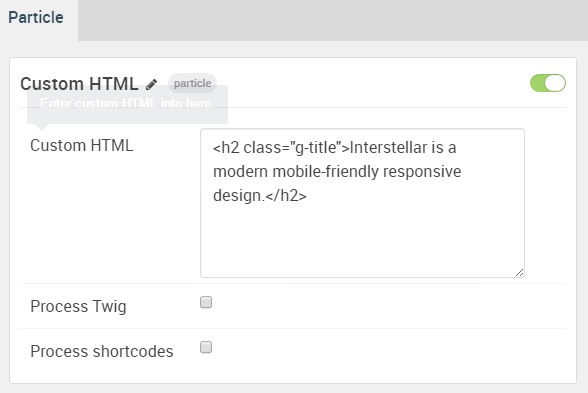
| Particle Name | Custom HTML |
| Process Twig | Blank |
| Process Shortcodes | Blank |
Custom HTML
<h2 class="g-title">Interstellar is a modern mobile-friendly responsive design.</h2>
Custom HTML (Particle) 2
The Custom HTML particle is a Gantry 5 Particle module placed within the header-a module position. You can create a module position by dragging and dropping a Module Position particle into the desired location within the Layout Manager. The module position's settings are as follows.
Module Position Particle Settings
Particle Settings
| Option | Setting |
|---|---|
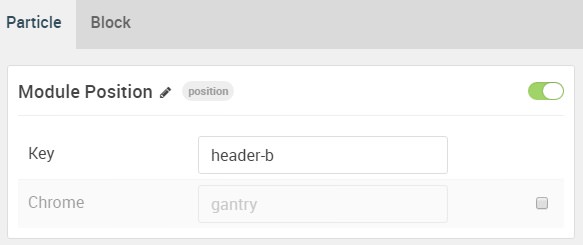
| Particle Name | FP Header B |
| Key | header-b |
| Chrome | gantry |
Block Settings
| Option | Setting |
|---|---|
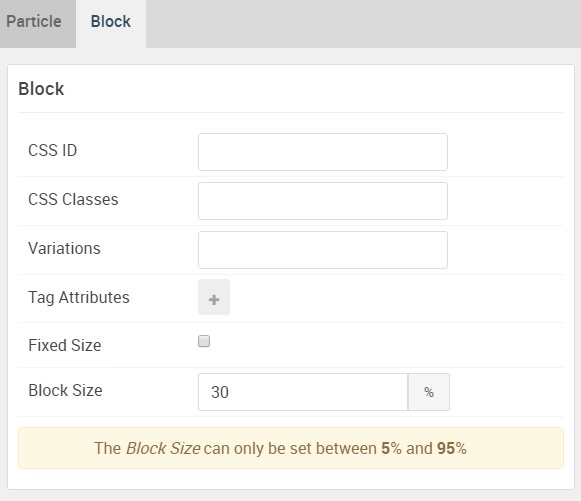
| CSS ID | Blank |
| CSS Classes | Blank |
| Variations | Blank |
| Tag Attributes | Blank |
| Fixed Size | Unchecked |
| Block Size | 30% |
Custom HTML Particle Settings
The next step involves assigning the particle to the module position. Adding a particle to a module position can be done by creating a Gantry 5 Particle module by navigating to Admin > Extensions > Modules and clicking the green New button. Select the Gantry 5 Particle module type and create the particle using the settings found in the section below, and assigning it to the position.
Particle Settings
| Option | Setting |
|---|---|
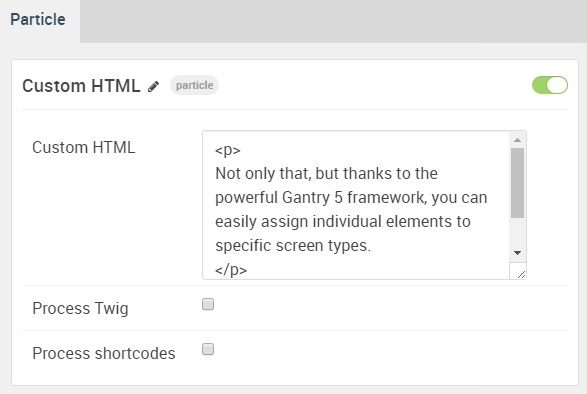
| Particle Name | Custom HTML |
| Process Twig | Blank |
| Process Shortcodes | Blank |
Custom HTML
<p>
Not only that, but thanks to the powerful Gantry 5 framework, you can easily assign individual elements to specific screen types.
</p>